Spitfire EV Project - Ending the body restoration phase
The blog post on TechnologyX2 details the progress of the Spitfire EV Project, focusing on the completion of the major body restoration phase. The author describes the meticulous process of removing layers of old paint, repairing dents, and applying a protective epoxy primer/sealer to the bare metal. This phase sets the stage for future work on the car's electronics and internals. The post emphasizes the importance of taking time in restoration to learn and acquire skills, along with the enjoyment of sourcing original replacement parts. The next steps include focusing on the car's electrical system and integrating both digital and classic elements into the design.
For more detailed information, you can read the full blog post [here](https://www.technologyx2.com/blog_hightech/2019/10/8/spitfire-ev-project-ending-the-major-restoration-phase).
With the weather getting a bit cooler, I’ve pushed forward and made a progress with the body work. Several layers of old paints scraped down to the bare metal, many hours of hammer and dolly work, and stud welder to pull out the nasty dents. Moving slowly and doing a good job here will pay off when I get to the final phase to lay down the color and protective coats.
Down to the bare metal and the hardware removed.
A few more spots to sand off.
Polished metal signify the end is near.
I think it is really important for the bare metal to get a good protective seal with the Epoxy Primer/Sealer. It seals the work that is performed between the job for the weekend warriors. As for me, it will serve as a nice protective layer while I work on the ‘electronics/internals’ of the car, allowing me to come back next spring/summer to work on it again and finish it off with the filler and final color paint.
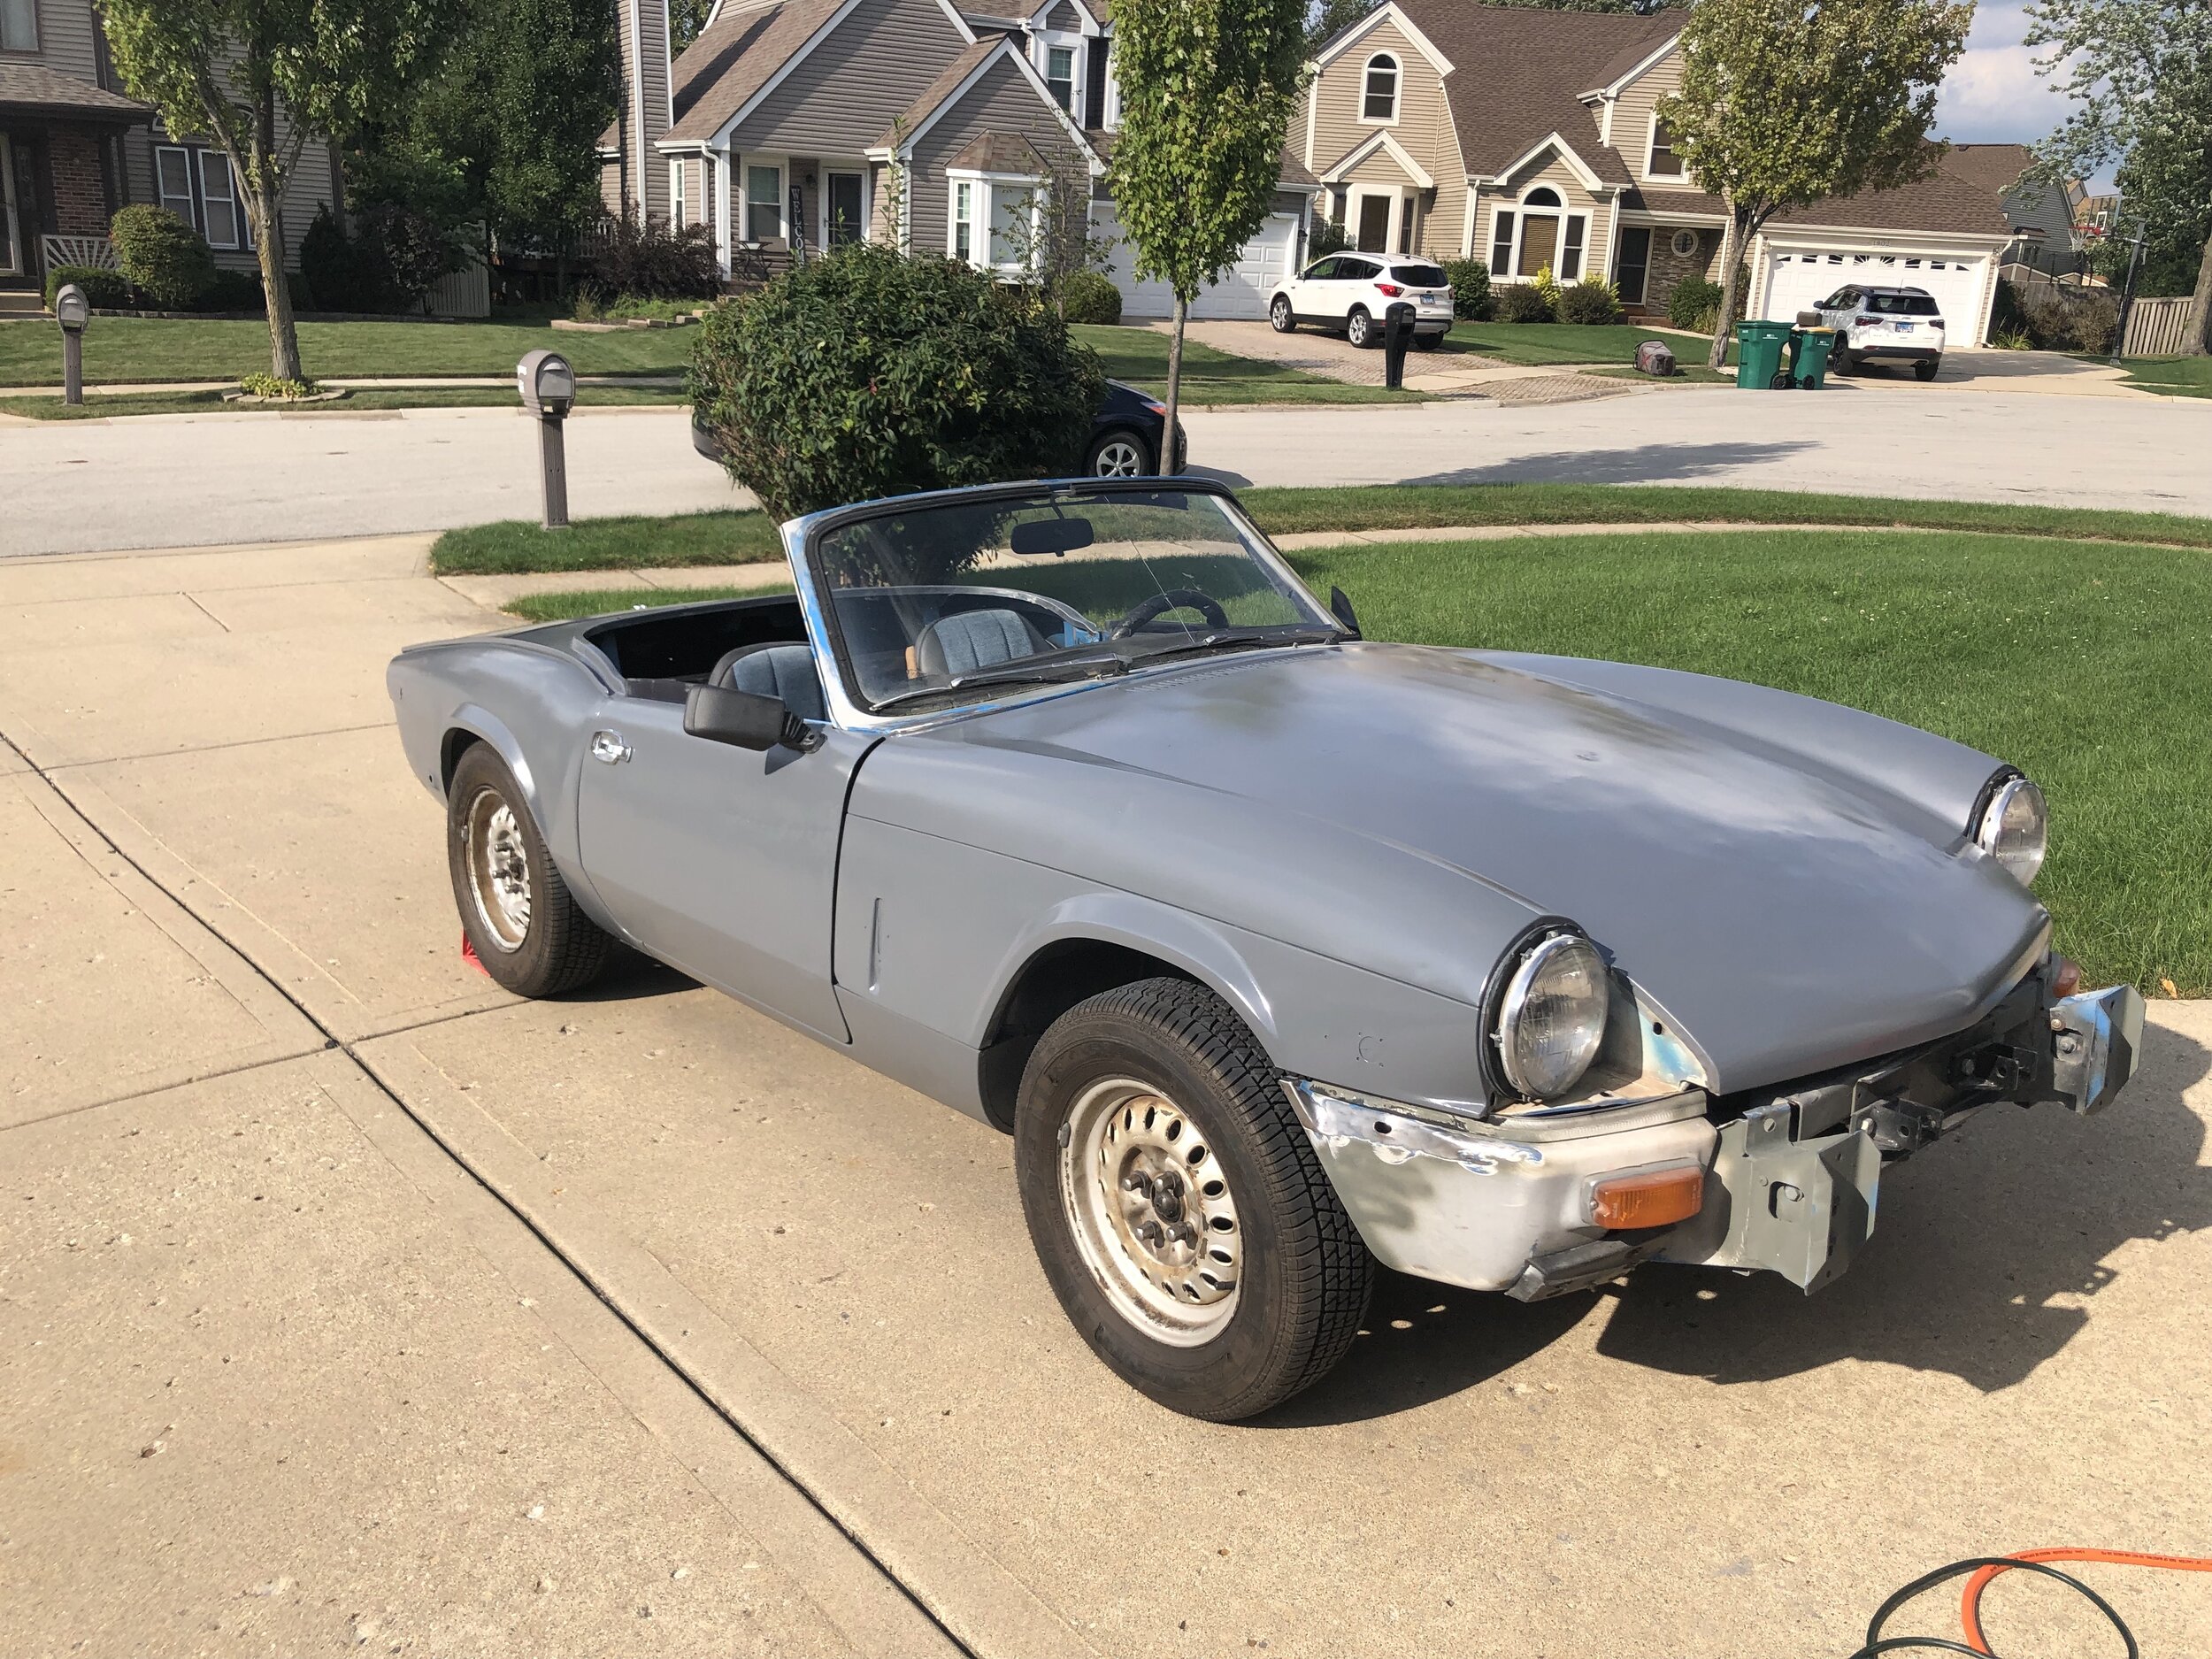
Look. Finally the car is a single color…. Almost.
Many of hours of hammer and dolly paid off.
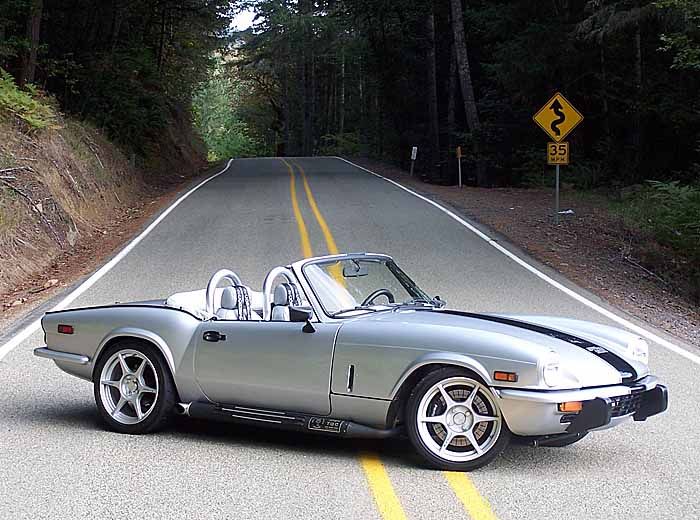
Spitfire is such a beauty. As I have only a few more spots left to finish, I am now moving to the second phase of the project. I can now shift my focus to the re-designing of the “Electrics” side of the vehicle. The real fun begins.
By the way, I have been slowly acquiring replacement parts which will be needed when I get to the final phase of the project. I think the secret to a successful restoration project is to go slow enough for you to learn things along the way and do many of the work yourself. Not only does it keep the project within budget, but the skills acquired can go a long way. Also, hunting for the original replacements parts are a major part of the fun.
I plan to install a digital screen for monitoring the ‘electric’ part of the car, but having these analog meters are just a look I can’t go without.
You won’t believe how much I paid for these rear lights. Finding these gems are definitely a part of the fun.
And up course, I had to have these original gear shift handles.
Spitfire EV Project - Body work (aka Restoration) phase
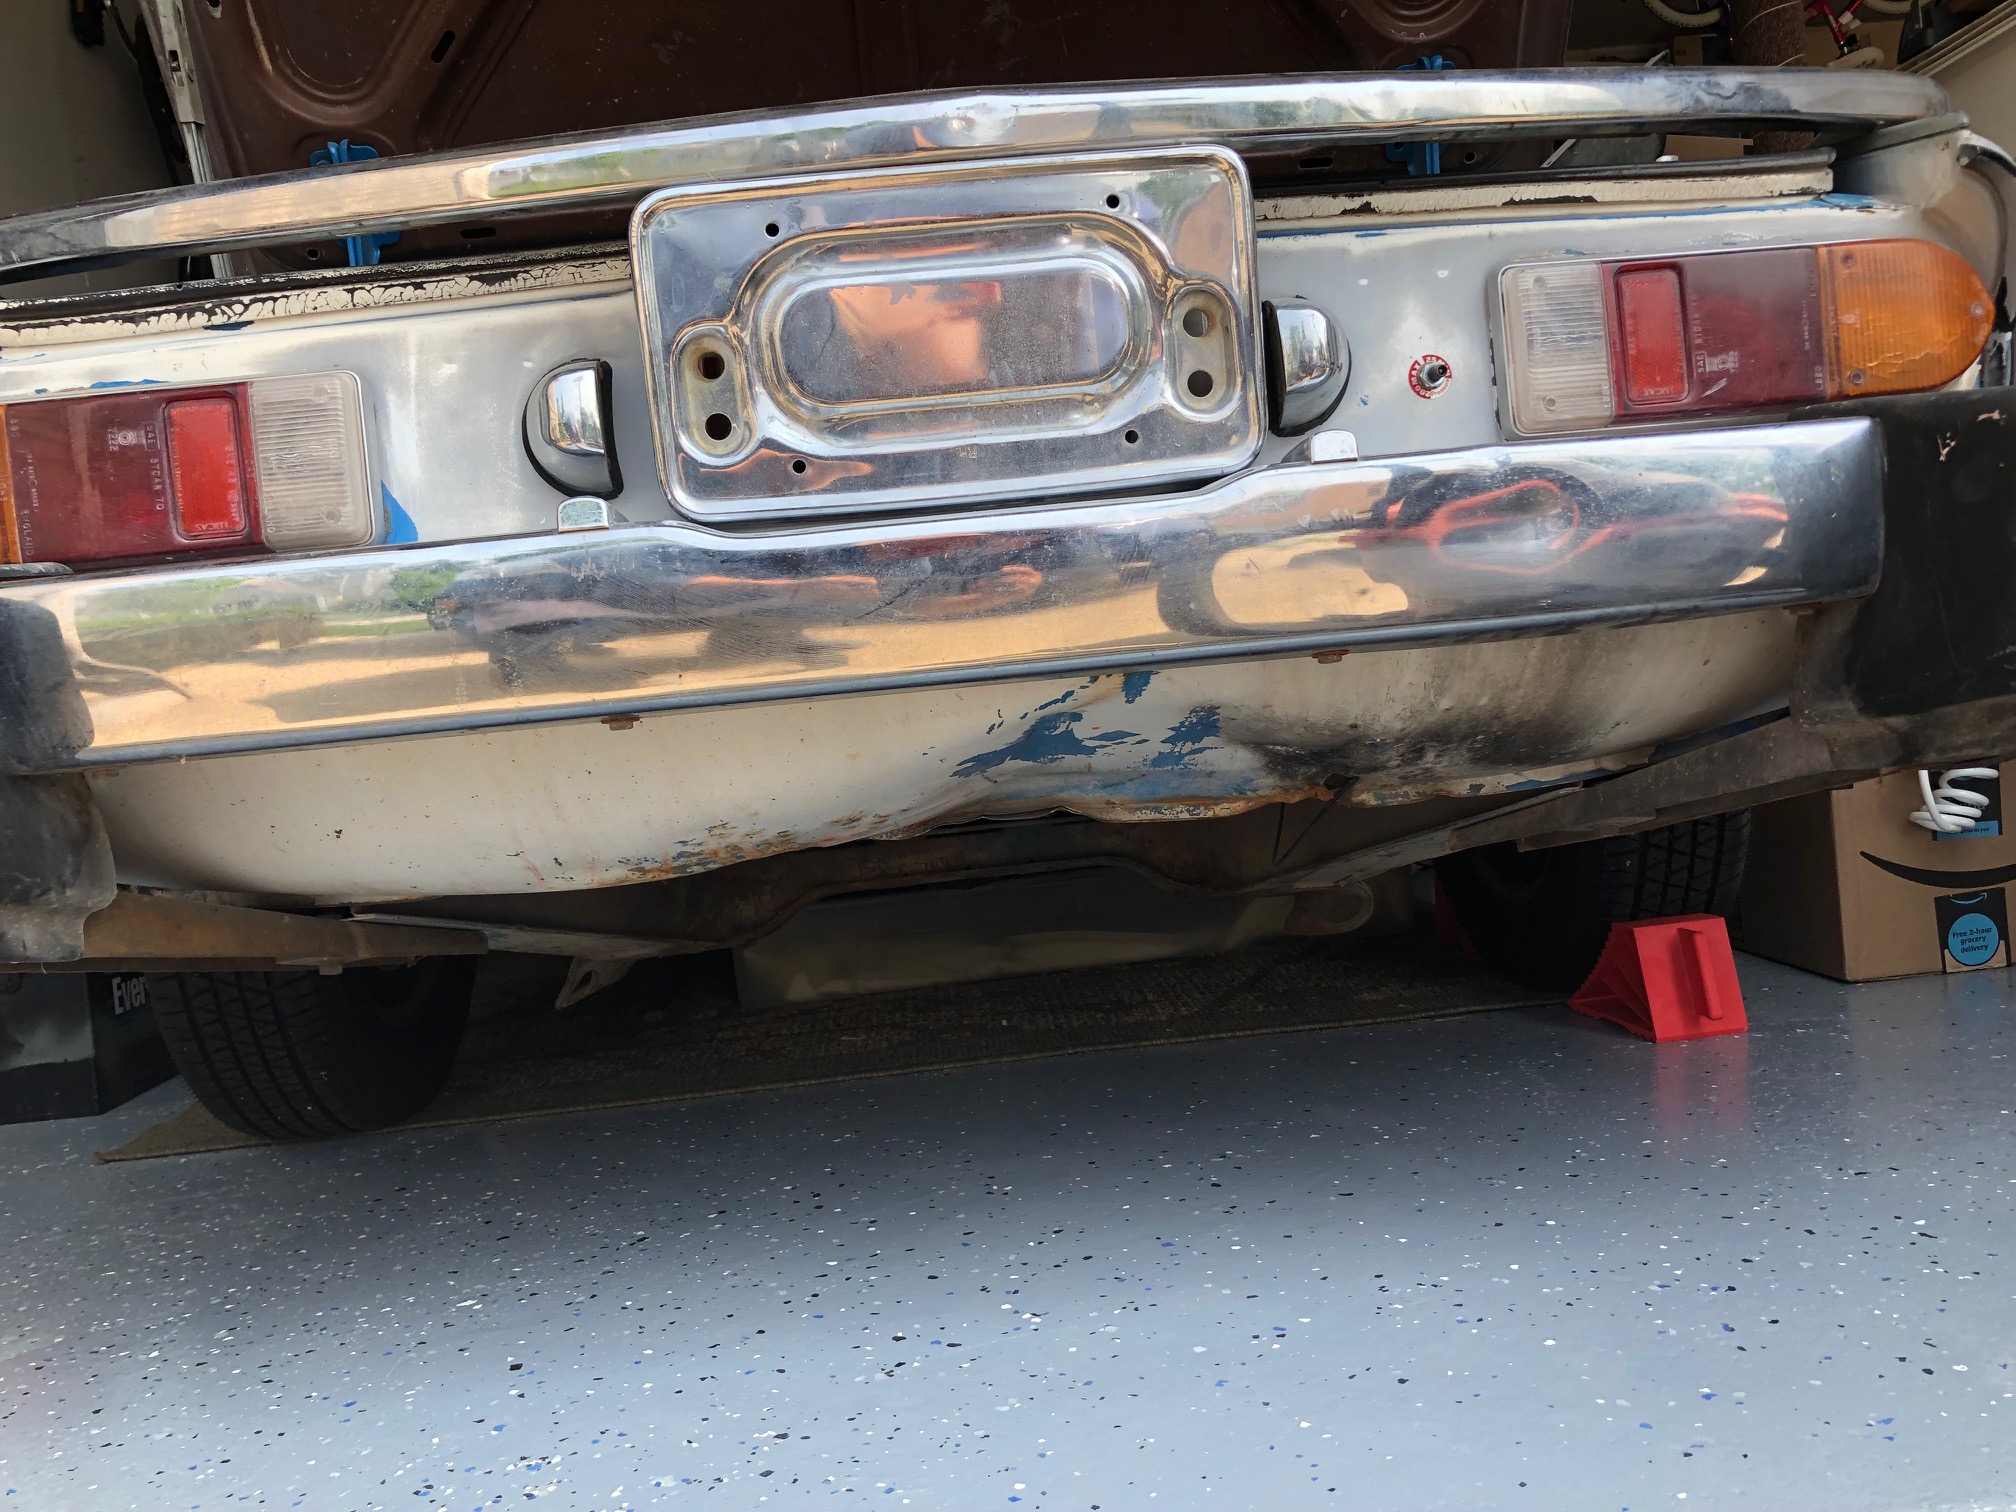
Fixing a big dent at the bottom of the trunk
As I start sanding out all the old paint from the car, one of the key task is to hammer out all the dents as best I can. Upcourse, it is much easier said than done in execution.
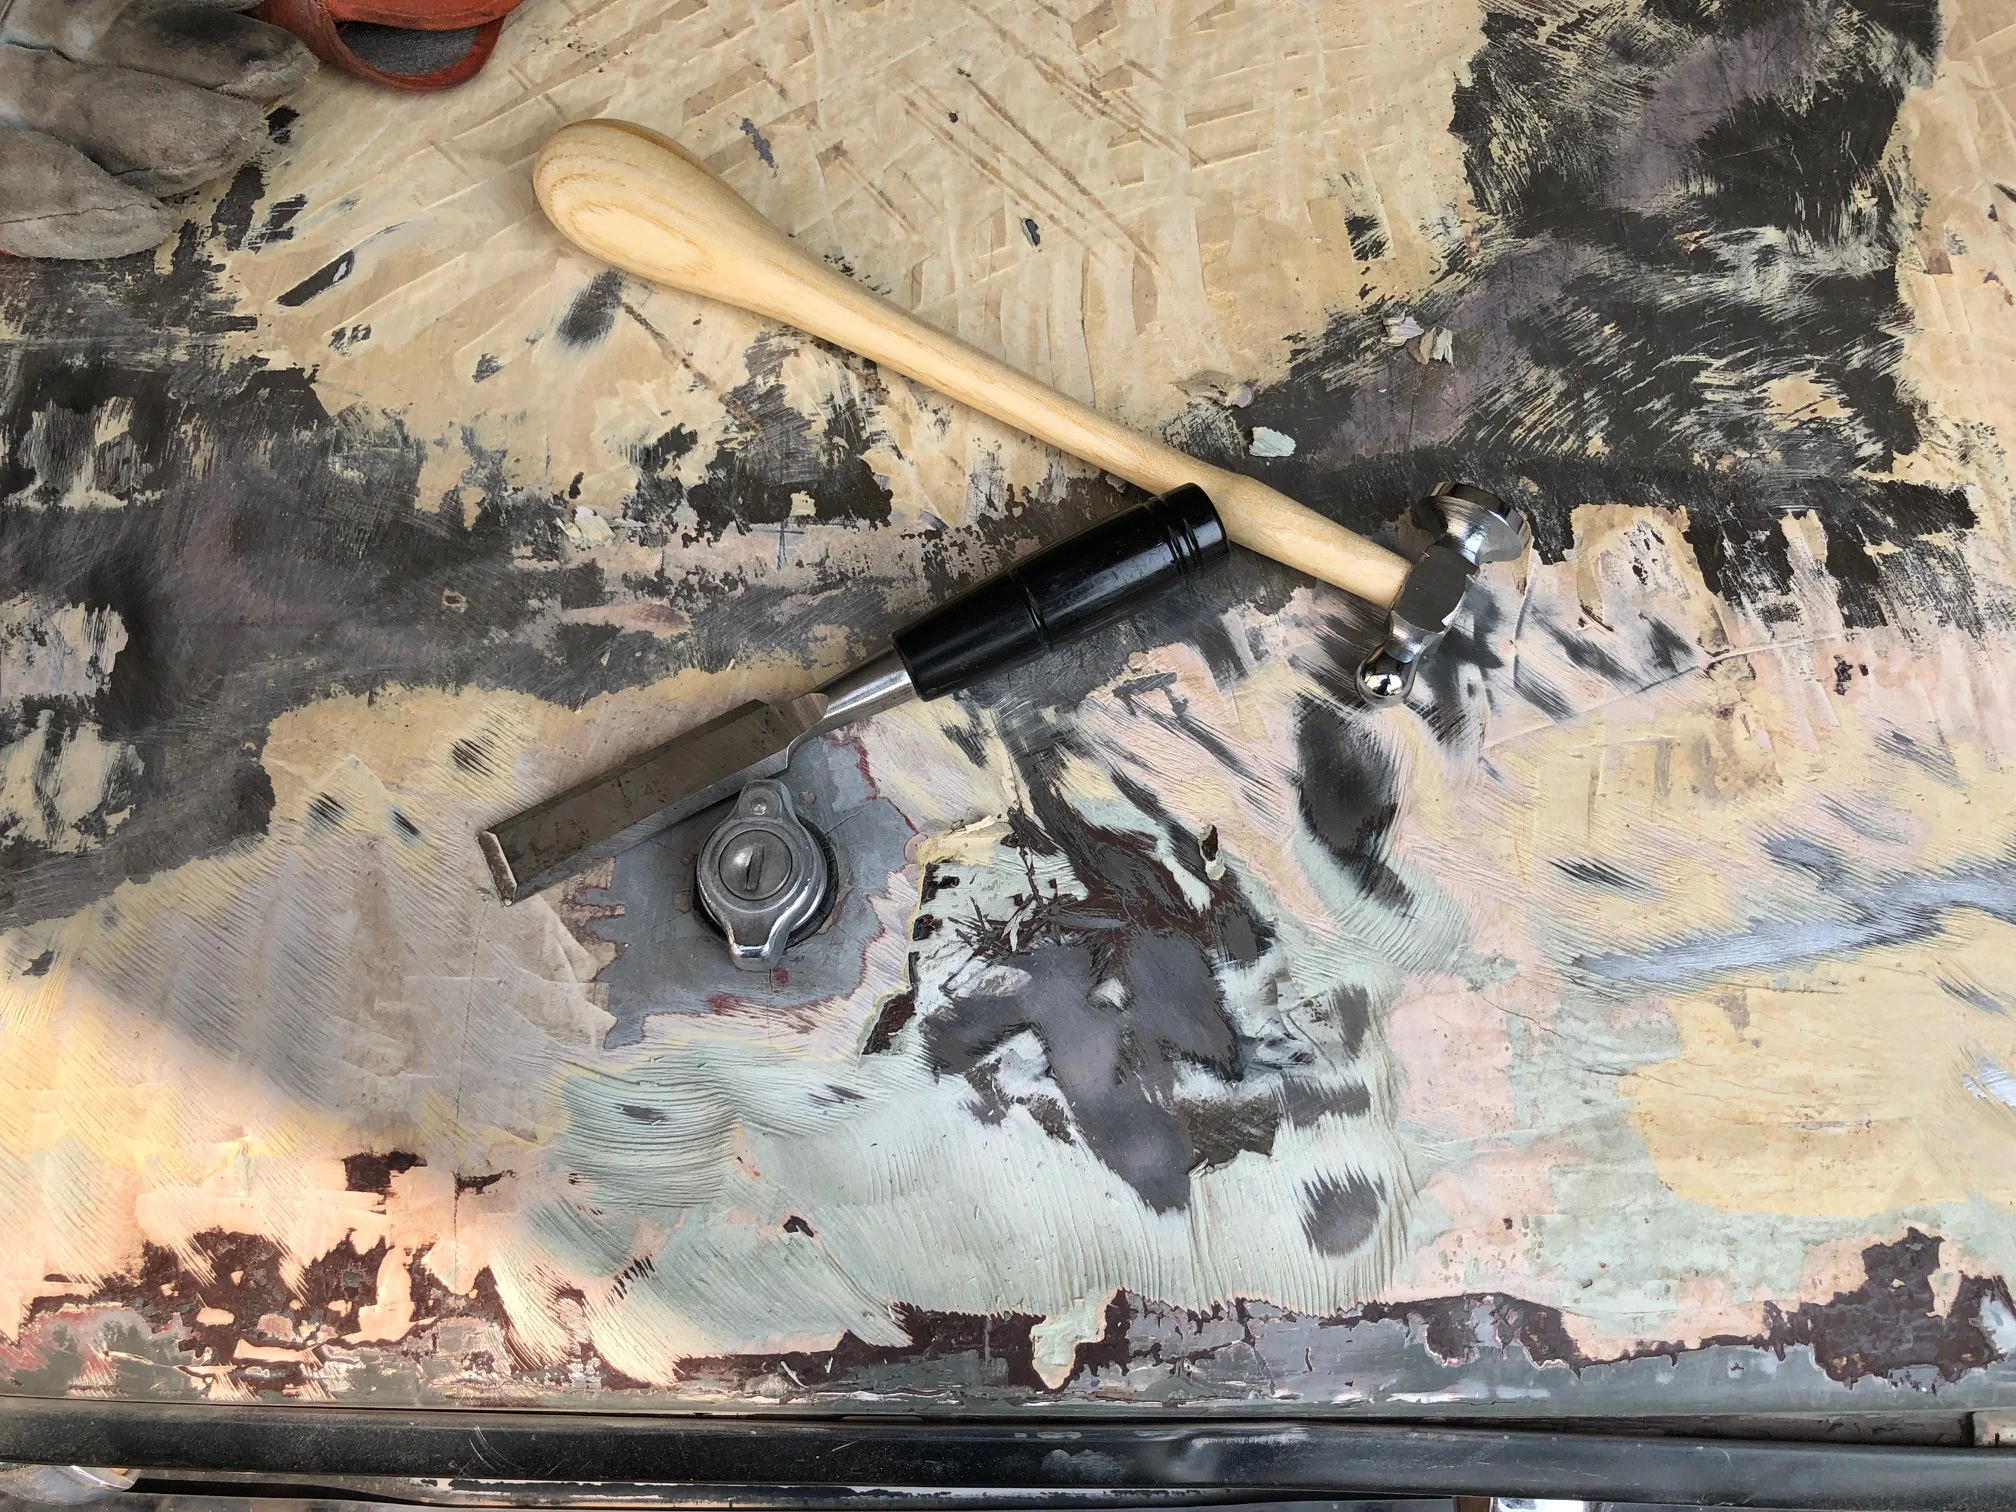
1/2 inch thick putty from the previous repair - all have to be scraped (aka chiseled) off!!
Lots of rust under the old putty work. Good thing I am scraping it down to the bare metal.
And more chisel work……
Since the trunk lid is doubled layered, and I am not able to get my dolly underneath and hammer it out as usual.
Time to get the stud welder out and “pull” out all the dents.
Just with everything in life, it pays off to spend the time and effort in the beginning to build a solid foundation. Since this phase is identical to the normal “Classic Auto Restoration Project”, I can go slow, learning every inch of of the car and it’s history down to the “bare” metal… and fall in love with it.
Once I get done with the body work (removing all the dents; sanding off the paint down to the bare metal; welding on all the tiny cracks formed in the body/sheet metal over time), I can spray paint the exterior with the gray color Epoxy Sealer and interior frame with the black Epoxy Sealer to protect all the metal. Once that is done (expect 1-2 months from now depending on how much time I can allocate for the project with the other competing projects), I can transition to installing batteries and working on the electronics.
Slow and steady & Keep moving forward!
1979 Triumph Spitfire is here
Spitfire finally came home yesterday. Thanks to Jeff and his friend for going through all the trouble to being the vehicle to me this weekend. I pulled the car out of the garage on Sunday to do some scrubbing and test the batteries. The vehicle was already converted to EV (DC motor, 6x 12v Lead Acid) back in 2010ish so this project will be Conversion Project 2.0
Let the sanding begin!
EV PROJECT PLAN & COST ESTIMATES
WIP - costs are being updated
EV Cost
Spitfire 1500 - $500 (inc tower)
12v Battery - TBD
Seatbelt - TBD
Windshield replace - TBD
Fuse replace - TBD
Paintwork - TBD
AC motor replace - TBD
Dashboard & meters - TBD
Supporting Cost
Garage Expoxy ($150 x3 + accessories $100 = $550)
Car cover
Tire lock x2
Panel Hammer Set ($100 inc jeweler hammer)
Dent repair hammer set
EV PROJECT VISION & GOALS
VISION
With the Tesla and other EV’s commonly seen nowadays on the street, Converted EV’s are still rare. Also, despite of all the technological advances in EV, the problem that is holding us back is still the battery. Battery is too expensive, heavy, slow charging and temperature sensitive. In order to get to know the technical limitations, I needed a platform that I can use to gain a first hand knowledge of the limitations. Also, I needed to test the different approaches in the “Battery Management” techniques and algorithms. Unlike using a modern EV full of sensors and computers that can become and obstacle during the project, a converted “classic car” can will let me focus on the EV components only. Another way to look at it is that I am building a big computerized battery testing platform that has wheels. Eventually, this project will merge with other battery & electric power projects such as battery storage (power wall) project and solar power project.
GOALS - 2018
(X) Join an Electric Vehicle club & research EV conversation process & cost
(C) Decide on a classic car, find a mechanic who can convert, and build a project plan + budget plan
GOALS - 2019 : Approach changed from paying a mechanic to convert the vehicle (faster but more costly) to doing most of the work myself (ideally buying a converted EV or In Prog)
(X) Setup garage as a workstation for EV conversation & charging
(X) Find and buy a converted vehicle & complete body work as needed
Complete necessary electric work & battery installation (Lead acid or Lithium polymer battery)
GOALS - 2020
Complete all required EV conversion work & electric safety controls
Complete car interior and dashboard (including safety belt)
Test run & optimize motor/battery configuration
Complete exterior paint & clear coat


