PROJECT: NeoPixel WS2812 WS2812B RGB LED Magic Project
UECIDE software to drive the LED - https://uecide.org/tour
Youtube video for project ideas - WS2812/WS2812B
Youtube video tutorials
Website references & tutorials
https://learn.adafruit.com/adafruit-neopixel-uberguide/the-magic-of-neopixels
Neopixels are about to change - https://blog.particle.io/heads-up-ws2812b-neopixels-are-about-to-change/
Arduino FreeRTOS - https://circuitdigest.com/microcontroller-projects/arduino-freertos-tutorial1-creating-freertos-task-to-blink-led-in-arduino-uno
https://randomnerdtutorials.com/guide-for-ws2812b-addressable-rgb-led-strip-with-arduino/
Some products to reference
Adafruit 64x64 RGB LED Matrix - 2.5mm pitch - https://www.adafruit.com/product/3649
Flexible Matrix 8x32 - https://www.smart-prototyping.com/WS2812B-flexible-LED-matrix-8x32&tracking=591c00a48ed2d
BlinkStick - https://www.blinkstick.com/products/blinkstick-pro
Blink(1) - https://blink1.thingm.com
Fit-statUSB
Adafruit Neopixel Library - Brightness control https://forums.adafruit.com/viewtopic.php?t=41143
Using Blynk App - https://iotdesignpro.com/projects/blynk-controlled-ws2812-neopixel-led-strip-using-esp8266-nodemcu
Things to remember - for #include <Adafruit_NeoPixel.h>
Adafruit_NeoPixel strip(LED_COUNT, LED_PIN, NEO_GRB + NEO_KHZ800);
Note: ensure correct device/part is declared (for NEO_GRBW or NEO_GRB). The data size is different and the outcome will be impacted.
https://learn.adafruit.com/adafruit-neopixel-uberguide/arduino-library-use
pixels.setBrightness(255); //. <— 255 is brightest; 0 is the lowest
pixels.show();
pixels.clear();
There is command to clear all LED, but below code to change color of all LEDs.
for(int i = 0; i < pixels.numpPixels(); i++){
pixels.setPixelColor(i, RedValue, GreenValue, BlueValue);
}
pixels.show();
RESEARCH: Arduino Micro-Controller Board
Arduino is a family of open-source microcontroller boards. These boards are equipped with digital and analog General Purpose Input/Output (GPIO) pins that can be interfaces with various electronic circuits. Arduino boards also have various expansion boards (called shields) that adds additional functionality to the Arduino boards (e.g. wifi shield). I started with the Arduino UNO around 2012 for my electronic projects. Over the years various types of Arduino boards were released as well as cheap imitation boards. One of the reasons for the popularity of the Arduino was the simple IDE (using C language) to write the program for controlling the board.
As of 2020, there are several competition that overshadowed the Arduino. Products such as ESP 8266 & 32 provide much more functionality while being much smaller and cheaper. Despite of the competitions, there are still use cases for Arduino in the maker community. Following are some of the Arduino boards that I still utilize in my projects.
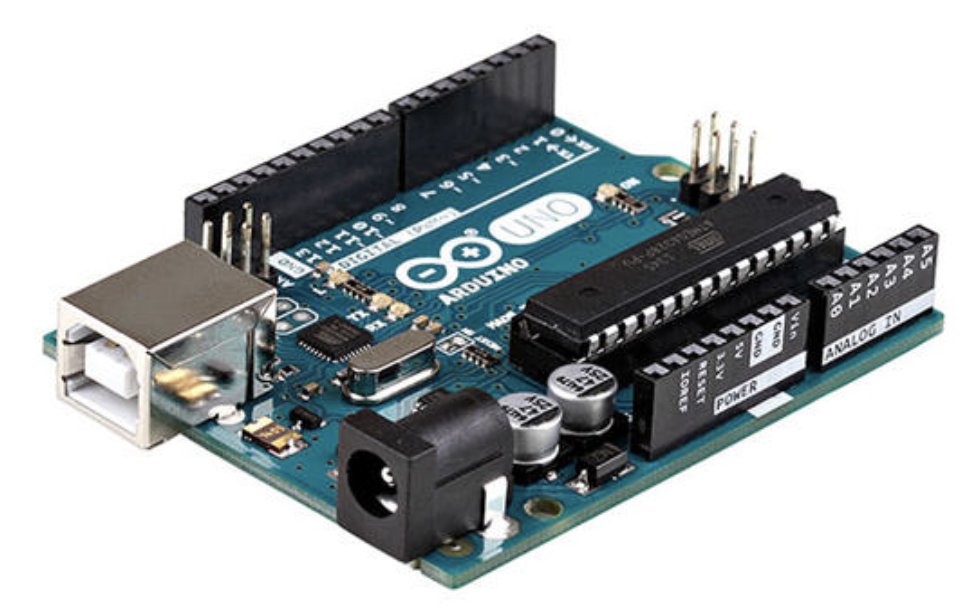
Arduino UNO Rev 3 - I still love this original model from the Arduino. - additional details WIP
Arduino Mega 2560 Rev 3 - This was called a BIG brother to the UNO model with its whopping 256K RAM despite of the 8-bit processor limit. I would still argue that the use case for the Arduino supports these smaller capabilities. - additional details WIP
Arduino Nano - This is the smaller brother to the UNO. - additional details WIP
Teensy - This model is a micro USB-based development system with a small (Nano size) footprint. One of its main strong point was the smaller footprint and the larger RAM (64K). I personally never really implemented in my projects as I stayed with the Arduino UNO and Mega and jumped right over to the ESP8266 - additional details WIP
STM32F103C8 - When this model came out, it was referred to as the super-duper Arduino (referring to its 32 bit processor) or a “Small board with a really long name”. This one also, I never got around to using it in my projects, but some day, I would love to implement it in my projects to experience the limitations and advantages. - additional details WIP
